The #auth tag instructs the server to require an authenticated user before serving the Page content. The example below shows how to protect a page with a simple username and password.
{{#auth}}
{"password": "secret", "user": "jane"}
{{/auth}}

My sensitive content here ...
Hard coding a username and a password is ok for a quick-fix or ad-hoc needs. For a more scalable solution the users and the passwords should be managed in your database.
The #context query uses the credentials object from the Page authentication to match a record from the database Collection, and the #auth tag matches the first record from this result to verify an user.
{{#context}}
{
"user": {
"collection": "myusers",
"query": {"username": "{{credentials.name}}", "password": "{{credentials.pass}}"}
}
}
{{/context}}
{{#auth}}
{
"password": "{{user.0.password}}", "user": "{{user.0.username}}"
}
{{/auth}}
...
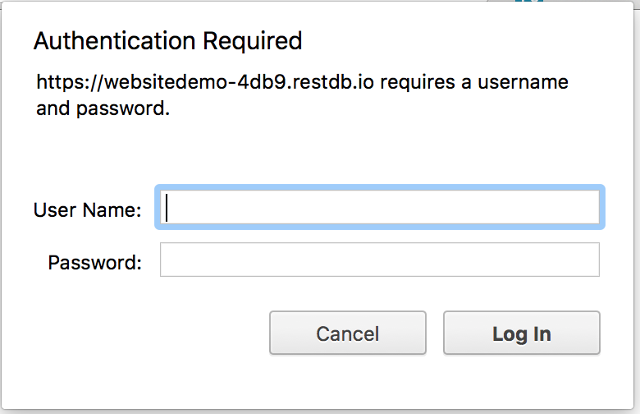
Top secret content hereThis is how a web browser will present a Page with authentication: